REWILD Homeschool

Chanel Lewis moved back to DC almost 5 years ago from Portland, Maine after feeling called back to the city where she went to undergrad at Howard University. She’s lived in her Fort Davis Park home...
Read more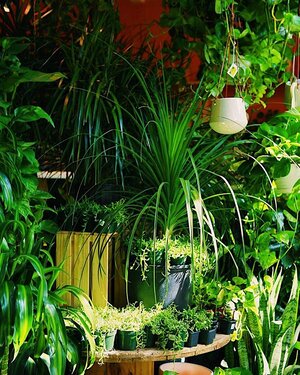
With What’s Left of This Summer, Give your Plants Some Extra Love!
We’re finally moving into the part of summer where soaring temperatures are beginning to ease, and you can finally enjoy some outdoor time. And guess what? Your plants are enjoying it too! We mi...
Read more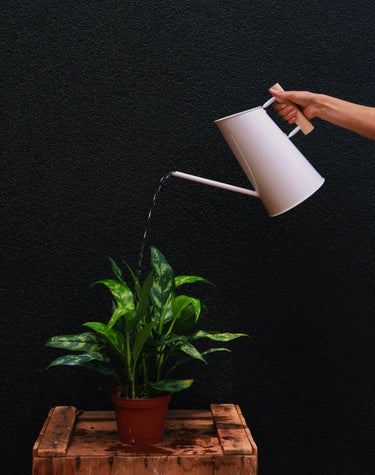
Why “Overwatering” Isn’t What You Think It Is
The term “overwatering” simply does not tell the entire story of why your plant is struggling. When we’re told we’ve overwatered our plants, we immediately examine our watering routine and try to ...
Read more
A Closer Look at Fiddle Leaf Figs
Ever the interior designer favorite, the Fiddle Leaf Fig is probably as popular as it is… problematic? If you’ve ever owned one (or killed one) you’ve known this to be true! We’ve decided to ze...
Read more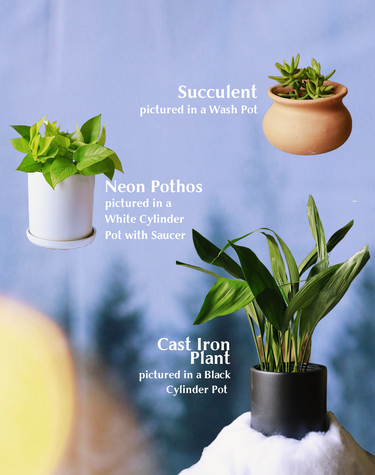
Your Exhaustive Gift Guide of Plants
It’s hard to go wrong when selecting a plant as a gift! Plant have been proven to promote a sense of calm, wellbeing, and even promote productivity- who wouldn’t want more of that? At worst, they ...
Read more
We have a number of clients who opt for plant consultations because they’d like to see more greenery in their homes, but they aren’t entirely sure where to start. Many don’t have much prior experi...
Read more
Moving With Plants Plants are especially tricky; they don’t fit squarely into a box, need sunlight and water, and won’t respond well to being packed away for days on end. They are fragile and re...
Read more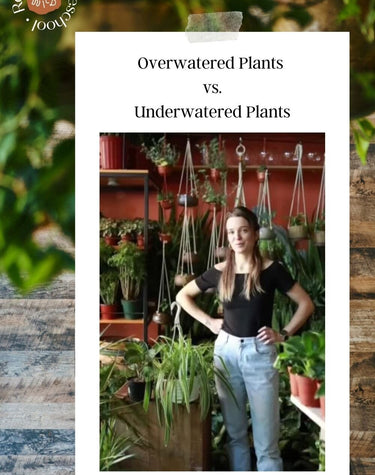
The Subtle Difference Between Overwatering and Underwatering
We’ve been getting this question a lot lately… something along the lines of this: “I was having issues with my plant, and I looked up the symptoms and it said I could be overwatering my plant or u...
Read more
Common Houseplant Pests and How to Deal With Them
This article will elaborate on our approach to common houseplant pests, and will not be a technical article because we are not entomologists! Mainly, we will touch on the common reasons we get pes...
Read more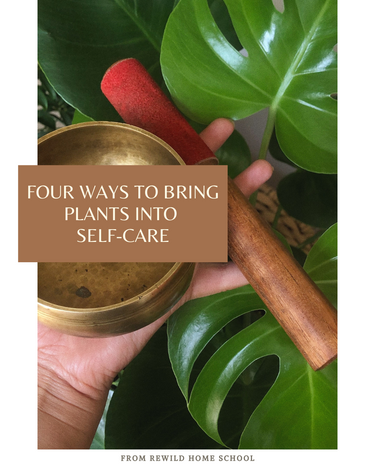
Four Ways To Bring Plants into Self-Care
In no universe should plant-care create stress or anxiety in our lives. While it can seem overwhelming, especially in the winter months as we all try to adapt to fewer hours of sunlight, plant-...
Read more
Four Ways to Help your Plants Thrive Through the Winter
This time of year you may notice your plants are not looking as lush and vibrant as they did over the summer; whether that manifests as slowed growth, stretching, yellowing or browning leaves, or ...
Read more
Fertilizing Info for the *CASUAL* Plant Owner
What you can learn about fertilizers without having to become a botanical expert. That would be me- not a botanist, but a casual plant owner. I may be a plant shop owner, but this also means that...
Read more
New Plant Parent Survival Guide
Congratulations! You’re here because you’ve picked up a new plant friend! Perhaps this is your first ever, or maybe just the first one in a while, after that one time you impulse bought that cute ...
Read more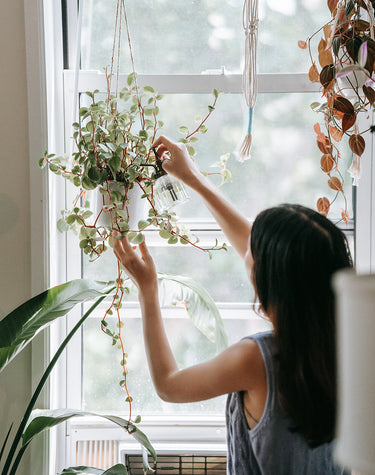
Five signs that you’re overwatering your plants
Watering is one of the most important plant care tasks, but it can also become one of the most stressful chores when your plants are in decline. Changes in season or conditions in the plant’s envi...
Read more
Many species of houseplants can benefit from the introduction of a moss pole into their pot; most notably the Monstera! I often get questions from concerned plant parents about a mature Monstera, t...
Read more
How to Choose Plants When You Live With Pets
Of course dogs are allowed in the shop! But there’s a condition: we’ll want to take there picture! Photo by @_unitedphotography_ We frequently field questions from concerned pet owners abou...
Read more
A survival guide: Pets vs. Plants
I think all humans share an innate love for nurturing living things - we feel fulfilled helping plants and animals thrive, even though we don’t always benefit from it directly. Unfortunately, our ...
Read more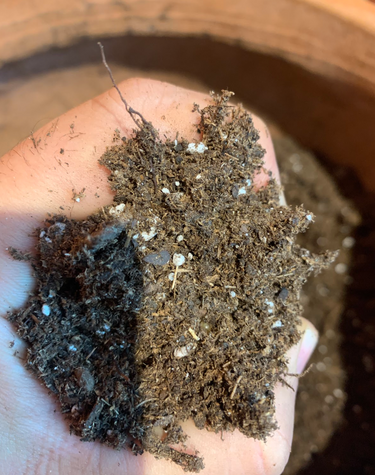
My favorite thing we do at the shop is repot plants. If you buy a plant or pot from us we will repot your plant for free. I know, I know it’s a great service. We did write a blog about what happen...
Read more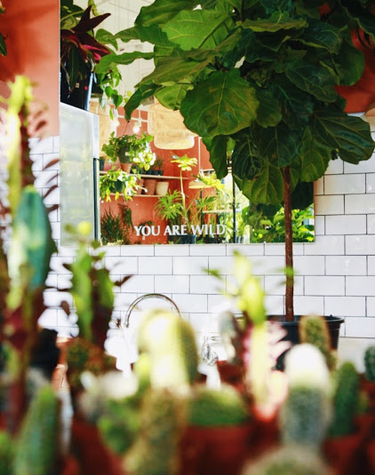
Lighting should be the first consideration when selecting your next plant. If you’ve identified the place you’d like to see a plant, you’ll want to understand the kind of light that spot receive...
Read more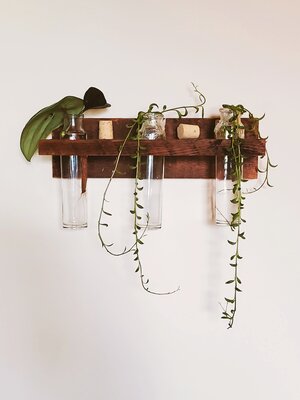
What is a propagation station?
I didn’t know anything about propagation the first time I took a clipping. I was killing my (or at least my partner’s) first succulent; it was leggy and droopy, but it still had a perfect rosette o...
Read more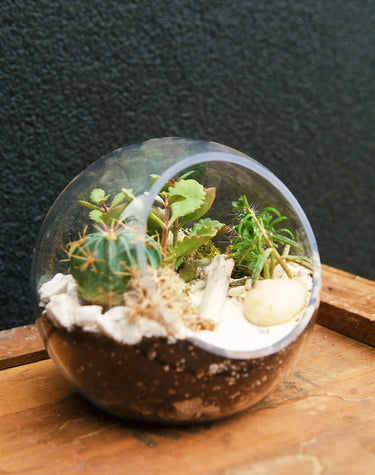
Create a Miniature Landscape in a Terrarium
There’s a reason people love Terrariums! At REWILD, we want to make it easy for you to learn and create Terrariums at home. What is a Terrarium? A Terrarium can be defined as any clear rece...
Read more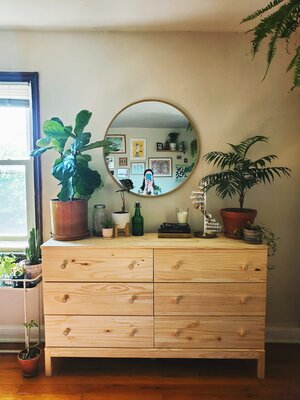
How to fit 91 plants in 557 square feet
In addition to managing pests and remembering to water, creating room for your growing plant family can become a challenge. Today I have 91 houseplants in a 557 square-foot apartment, and now every...
Read more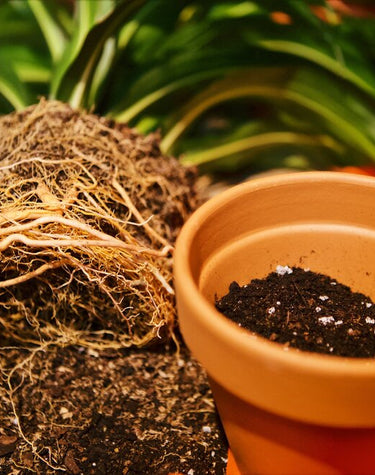
Transferring your plant from its growers pot (the plastic pot it is often purchased in) to a planter can seem daunting to many, but it’s easier than you think! Here at REWILD, we pot lots of...
Read more
During this time of wild uncertainty, there’s one event that has continued without complications: springtime. City living poses unique challenges for many of us - lighting and space being the most ...
Read more
How this plant store owner cares for his plants
In October of 2018 I was undoubtedly, extremely unqualified to answer plant care questions. When we decided to open a flower shop I really had no intention of becoming a “plant expert”. Yes, REWIL...
Read more
Watering is one of the most essential tasks in plant care, though incorrectly watering is the most common reason for houseplant death. And despite what your mom says, the answer isn’t an ice cube!...
Read more